
Image Focal Point

Focal Point feature in Codex offers users the ability to specify the focal point of images, enhancing the visual appeal and usability of images in their front-end applications.
At the asset level within the Asset Management Hub, users can easily set the focal point for each image, ensuring that their assets look their best when incorporated into various media. Moreover, Codex extends the flexibility of the Focal Point feature to the entry level, allowing users to set unique focal points for the same image in different media fields within an entry. This is particularly useful when users need to tailor their visuals to specific media field ratios. This flexibility empowers users to optimize visuals for various contexts and media.
Focal Point at asset level
In Codex, you have the option to set the focal point for each image at the asset level within the Asset Management Hub. This means that all assets can have their focal point adjusted. To set the focal point for an image, follow these steps:
Navigate to the Asset Management Hub.
Choose the folder or subfolder where the desired asset is located.
Hover over the asset for which you want to set the focal point.
Click on the "Focal Point" quick action button (typically the third button).
A new modal window will open, allowing you to update the focal point for the image.
On the image, you can adjust the desired focal point.
Meanwhile, on the right side of the modal, you will see some example previews of the focal point in Cover, Square, and Portrait.
After setting the focal point, click the "Update Focal Point" button.
The focal point for the image will now be set at the asset level.
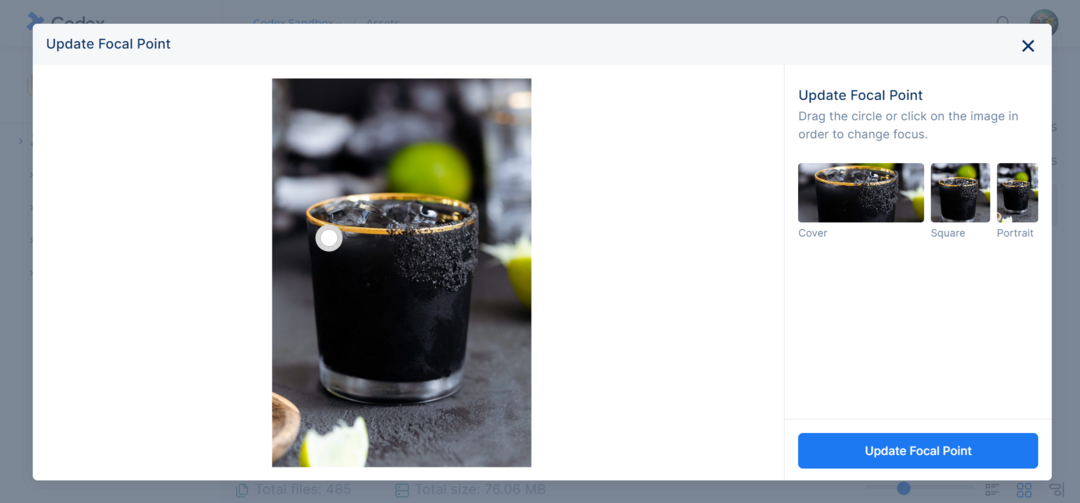
Update Image Focal Point in Asset Management Hub
Note that you can edit the image's focal point as many times as you need.
Focal Point at entry level
In Codex, you also have the option to set the focal point of an image at the entry level for a media field. This means that the same image can have different focal points set in different media fields at the entry level, based on the ratios configured for specific media fields in the model. There are two scenarios to consider:
If a media field does not have ratios configured in the model, the user can overwrite the focal point for the image in that particular media field or media block within the entry.
If a media field does have ratios configured in the model, the user can overwrite the focal point for the image for each of the ratios that have been configured in the model.
Note that if no custom focal point is applied to the image in a media field or a media block, the default focal point of the image will be applied.
To set the focal point for an image in a media field within an entry, follow these steps:
Navigate to the desired entry.
Select the media field where you want to add the image(s).
Choose the desired image.
Click on the "Focal Point" quick action button (typically the third button).
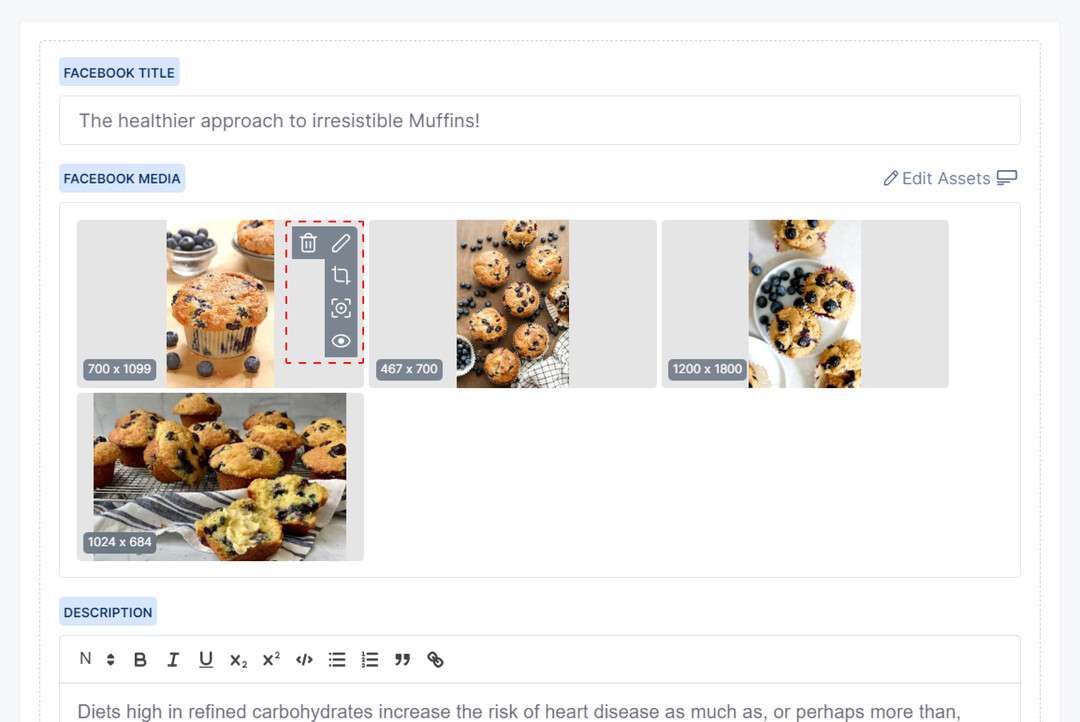
Focal Point Icon at Entry Level
A new modal window will open, allowing you to update the focal point for the image.
Adjust the desired focal point on the image.
If the media field has ratios configured, on the right side of the modal, you will be able to specify the focal point for each ratio accordingly.
Select the desired ratio to be set for the corresponding media field in the entry.
Click the "Update Focal Point" button.
The focal point for the image will now be set at the entry level for the corresponding media field.
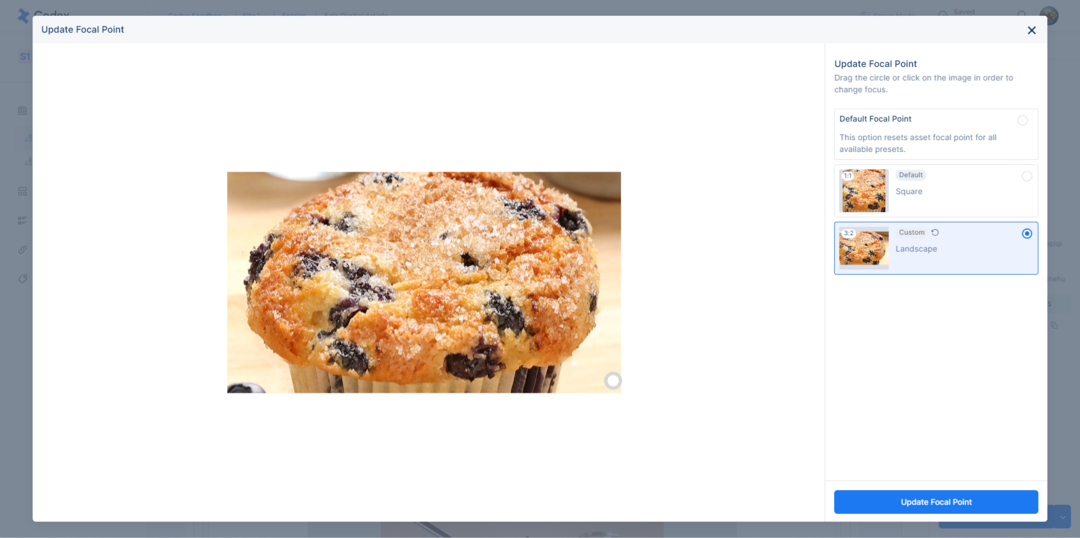
Update Image Focal Point in Entry Editor
Note that clicking on the "Default Focal Point" option will reset the asset focal point for all available ratios.